Materials
- the bases of your choice
- normal window screen, available from your local home depot/hardware store.
- normal plasticard, sheet plastic, cardboard, or even strips of the clear plastic from blisters
- random mechanical bits from your bitz box
Assembly
To start, layout a decent sized sheet of the window screen, enough for all the bases you plan to create. Take some white glue/elmers glue (non diluted), and apply it to the top of each base. Once you've applied glue to a base, turn it upside-down onto the window screen (be sure to do this on a surface which can take some abuse, as some white glue may seep through. No dining tables people). Do this for all the bases you plan to create and leave it to dry for a few hours.
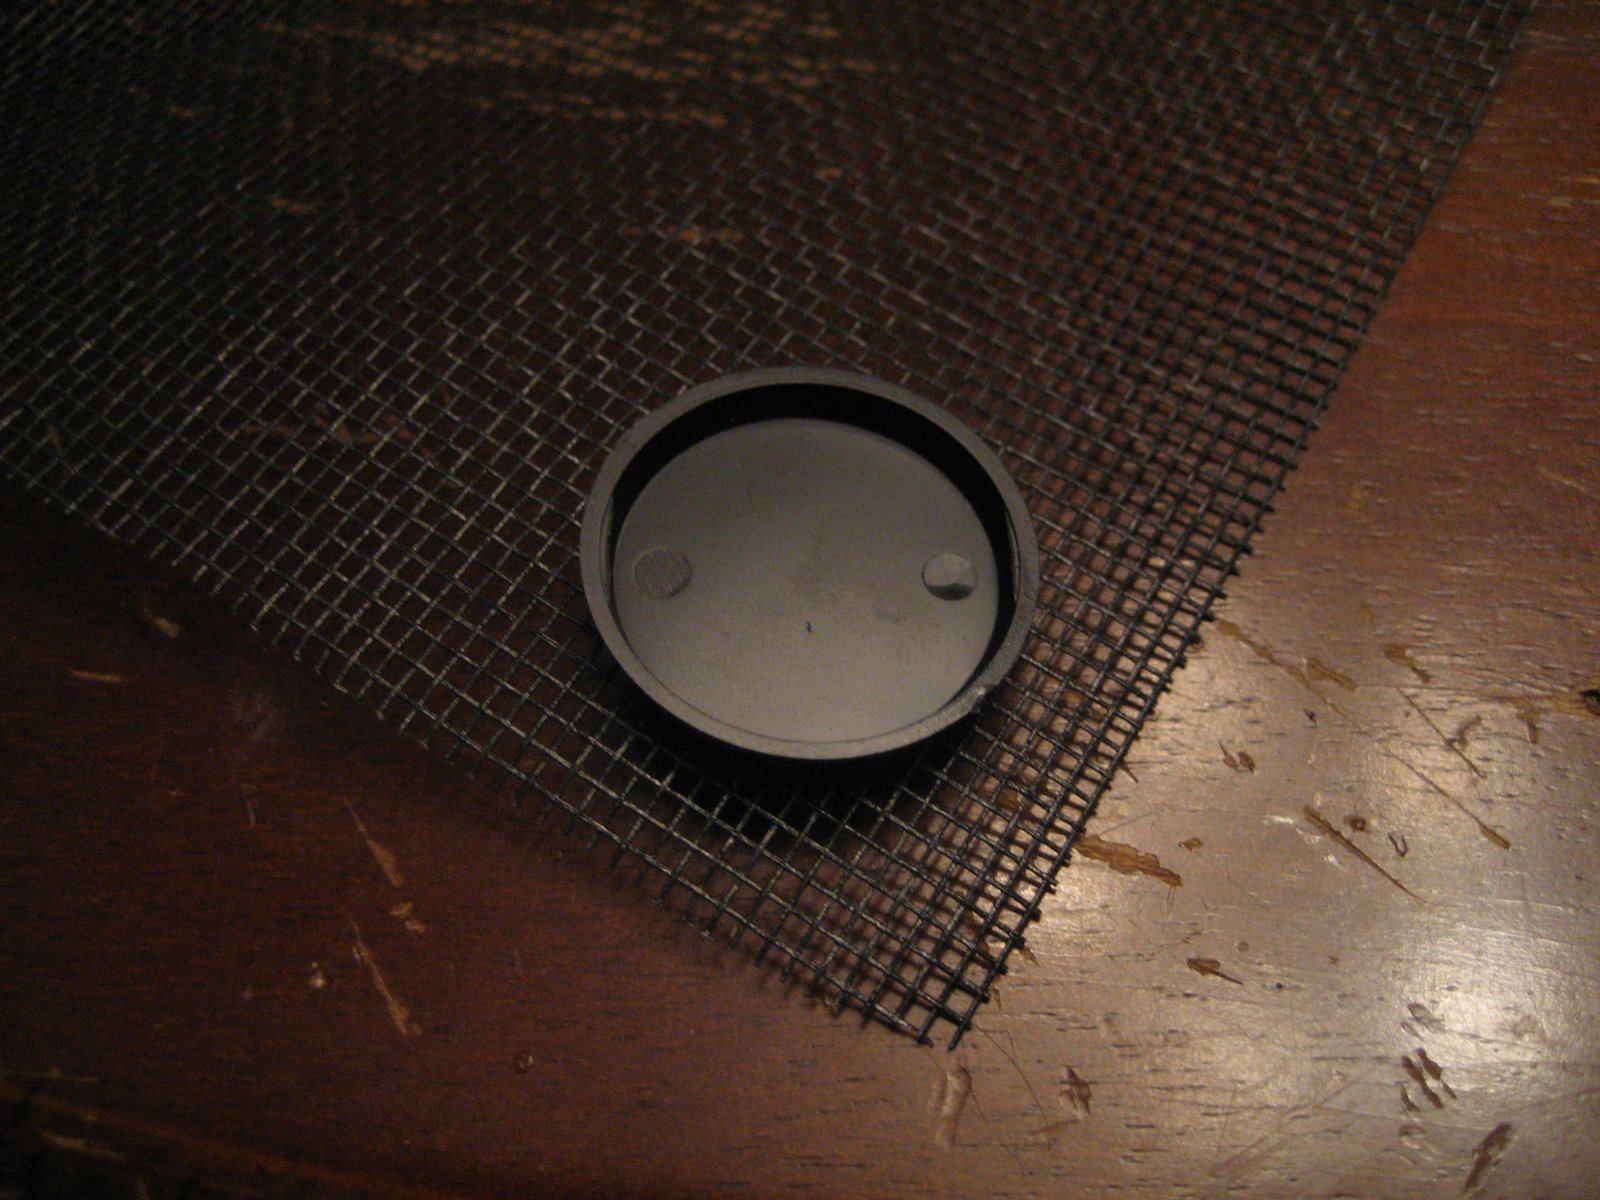
Once the glue is dry, take a sharp knife and trace around the edge of the base. This may take a try or two, as the screen can be tricky to cut. It helps to press down hard on the base with your other hand (I didn't show this in the picture, as I only have 2 hands, and one needed to hold the camera). When you're done, the base should come free of the sheet of window screen, with the top surface of the base covered by the screen.

The next step is to apply strips of plasticard/cardboard across the base. I typically use about 1/8in strips, pre-cut alot of them, and make sure they are longer than the base. Using plastic glue, I will glue the strips down to the surface of the base. Be sure to vary the pattern, some straight across, some halfway across, and leave some excess plastic hanging over the edges of the base. Once the glue has dried, use a hobby knight to cut off the excess plastic and make the strip flush with the edge of the base.

The only assembly step remaining is to glue down any mechanical-looking bitz from your bitz box/basing kits. I've found parts from heavy weapon teams and vehicle sprues work best.
Painting
Painting the base can be rather simple, but can also alow you to flex your painting skills if you wish. After priming black, start with a metal drybrush across the entire base, trying to cover the plastic sheets and the top of the window screen. Afterwards, apply a thinned-down black ink to the base to bring out the details of the screen mesh. That's all that's required. If you want to get fancier, here are some additional bits
scratches - its a floor from an abandoned facility, its shouldn't look shiny and new. Take a fine tip brush and a metallic color lighter than the one your drybrushed with, and paint small "slashes" at various angles across the sheet parts of the base. Then, take your drybrush color, add a little black to it, and paint a dark line directly next to each lighter line. The effect is that it appears there are deep gouges in the metal (shadows from the darker lines) with a sharp edge catching the light.
Chevrons - similar to those on Iron Warrior armor, these add some color to the base, and would be typical of a vessel/facility where personnel warnings might be necessary. They can either be the typical black/yellow, or red/white also works well. It all depends on the color of your miniatures.
Rust - once again, no shiny and new in a space hulk. prior to applying the ink wash, drybrush regions of the screen mesh, first with dark flesh or vermin brown, then with fiery orange. This technique also helps to add color and breakup the monocrome black/metal of the base.
Heres a few pictures of a dreadnaught base I created. It includes IG mortar and lascannon bits from a IG heavy weapon team, chevrons, and rust affects.


6 comments:
Just found this by way of The Wildferret... what a great tutorial. I would have never of seen it otherwise.
If you have more, please post links on your main page, this is a really well done tutorial and accomplishes everything it sets out to do.
If you don't mind, I'm going to add a link to my site as I think my readers can definitely use this kind of info.
Nice job.
Ron
fromthewarp.blogspot.com
LoL, Fancy seeing you here!.
just been reading WildFerrets post on this too and thought i would have a look.....
they are very good.... makes me miss Space Hulk for some reason.
Yup definitely a well done article and as you can see by my blog that the bases really make those terminators stand out.
So if anyone wants to take a look and see what these kind of bases look like with models attached take a look at my blog, but a lot of credit comes back here with this tutorial.
Matt
thewildferretsdomain.blogspot.com
Awesome job.
I'm adding you to my blogroll. :)
Quite the cool tutorial. It makes me long for the days of Space Hulk again... anyone want to come to Dallas and turn my living room into a space hulk board??? I've got the pieces to do it...
Does anyone know of a good specialty metals company that can produce custom made metal parts?
Post a Comment