Friday, November 30, 2007

Lord of the Rings Chess Set: Episode 1 - the Board

When it comes to GW games/miniatures, I'm a painter and modeler first and a gamer second. When Games Workshop released its Lord of the Rings game, I wasn't amazingly impressed with the gameplay. It was different than Warhammer/40k, but had some clunky aspects. I am, however, a bid fan of the Lord of the Rings books, the Movies, and many of the snazier miniatures.

My solution to this conundrum was to use the Lord of the Rings miniatures, but for an entirely different game. I've started constructing a chess set as a gift to my wife for Christmas. Hopefully the demands of work will allow me to finish it before December the 25th. 

The first step in its creation was the board, shown below. It started as simply a 4-ft length of 1x12, cut in half, and attached together with cabinet hinges to make a large 2ft x 2ft board. This board size was necessary to accommodate the wooden candle holders I planned to use as the chess pieces, which were about 2 1/4 in diameter. 


All of the patterns on the board were done with a wood-burning pen. This was perhaps one of the most time consuming parts of the chess set creation, and resulted in my entire house smelling like burned pinewood (my wife was thrilled with that). The squares were picked out using some leftover dark-wood stain from a previous home improvement project. The entire board was then coated in a light wood stain. 

Across the front of each side of the board is half of the script from the One Ring, "one ring to rule them all, and in the darkness bind them". 


Each of the 4 corners includes a styalized icon representative of the forces of good and evil: The White Tree of Gondor, a steed of Rohan, the Eye of Sauron, and the Hand of Saruman. 


Lastly is the Lord of the Rings logo. 


The next steps will be the basic painting of the gaming pieces. 

Advanced Basing 2: Space Hulk / Industrial Complex Bases

This is a very cool type of base I experimented with for some Deathwatch Marines. I was inspired after spending an evening at home watching an ALIEN marathon. Basically, rather than the grass/dirt covered fields which make up the bases of most 40k miniatures, I wanted the deathwatch team to appear as if they had boarded an abandoned vessel/ landed on a deserted industrial world and were seeking out those who caused its abandonment/desertion.  Its easier than the plasticard basing and cheaper as well.

Materials
- the bases of your choice
- normal window screen, available from your local home depot/hardware store. 
- normal plasticard, sheet plastic, cardboard, or even strips of the clear plastic from blisters
- random mechanical bits from your bitz box

Assembly
To start, layout a decent sized sheet of the window screen, enough for all the bases you plan to create. Take some white glue/elmers glue (non diluted), and apply it to the top of each base. Once you've applied glue to a base, turn it upside-down onto the window screen (be sure to do this on a surface which can take some abuse, as some white glue may seep through. No dining tables people). Do this for all the bases you plan to create and leave it to dry for a few hours.


Once the glue is dry, take a sharp knife and trace around the edge of the base. This may take a try or two, as the screen can be tricky to cut. It helps to press down hard on the base with your other hand (I didn't show this in the picture, as I only have 2 hands, and one needed to hold the camera). When you're done, the base should come free of the sheet of window screen, with the top surface of the base covered by the screen. 


The next step is to apply strips of plasticard/cardboard across the base. I typically use about 1/8in strips, pre-cut alot of them, and make sure they are longer than the base. Using plastic glue, I will glue the strips down to the surface of the base. Be sure to vary the pattern, some straight across, some halfway across, and leave some excess plastic hanging over the edges of the base. Once the glue has dried, use a hobby knight to cut off the excess plastic and make the strip flush with the edge of the base.


The only assembly step remaining is to glue down any mechanical-looking bitz from your bitz box/basing kits. I've found parts from heavy weapon teams and vehicle sprues work best.

Painting
Painting the base can be rather simple, but can also alow you to flex your painting skills if you wish. After priming black, start with a metal drybrush across the entire base, trying to cover the plastic sheets and the top of the window screen. Afterwards, apply a thinned-down black ink to the base to bring out the details of the screen mesh. That's all that's required. If you want to get fancier, here are some additional bits

scratches - its a floor from an abandoned facility, its shouldn't look shiny and new. Take a fine tip brush and a metallic color lighter than the one your drybrushed with, and paint small "slashes" at various angles across the sheet parts of the base. Then, take your drybrush color, add a little black to it, and paint a dark line directly next to each lighter line. The effect is that it appears there are deep gouges in the metal (shadows from the darker lines) with a sharp edge catching the light.

Chevrons - similar to those on Iron Warrior armor, these add some color to the base, and would be typical of a vessel/facility where personnel warnings might be necessary. They can either be the typical black/yellow, or red/white also works well. It all depends on the color of your miniatures.

Rust - once again, no shiny and new in a space hulk. prior to applying the ink wash, drybrush regions of the screen mesh, first with dark flesh or vermin brown, then with fiery orange. This technique also helps to add color and breakup the monocrome black/metal of the base.

Heres a few pictures of a dreadnaught base I created. It includes IG mortar and lascannon bits from a IG heavy weapon team, chevrons, and rust affects.


Thursday, November 29, 2007

A rough week

Its been a rough couple of days at work. Late nights, early mornings, and a lot of coffee. However, here's a few updates on some things I've been working on.

A PLEASANT SURPRISE
So a few days ago I decided to drop $10 and give the recently released GW modular movement trays a try. I'm in the middle of working on painting my Tzeentch Chaos army for Warhammer Fantasy Battles, and after a few battles with the army, realized some movement trays would help move gameplay along quite a bit faster. 

I must say I was very surprised with the value. The image below shows all the trays I made from the single kit. In total I created:

- 2 5x5 25mm infantry trays
- 2 6x2 25mm infantry trays
- 3 2x5 25mm infantry trays.


The pile at the right represents the leftover bits, probably enough for another 2x5 unit tray. Not quite the same value of the older trays, but then the flexibility of creating your own sizes was worth it, particularly for an army which uses lots of 25mm models, as 7th edition rules require ranks 5-wide.

AN ORK WITH A MIND OF METAL
With the upcoming release of a new 40k Ork Codex, I'm finding it hard to resist the temptation to start a new Ork army, a mech-oriented army full of Big Mechs, Kans, Dreadnaughts, and cybork Nobs. In an attempt to stem the desire, I painted up this Ork Big Mech Model as a show piece. Took me about a full day, but I was pleasantly surprised with the results for my first Ork. I do think in the future I would prefer the Catachan Green Ork flesh over the Snot Green. It would look more leathery and less christmas.


Hopefully tomorrow I will have time to update with the space hulk basing techniques, and the beginnings of my Lord of the Rings Chess set (a christmas gift for my wife).

Monday, November 26, 2007

Advanced Basing 1: Textured Plasticard

A first installment of advanced miniature basing techniques for those who wish to go beyond the basic white glue with sand and gravel.

The Materials
  • Sheet Styrene/Plasticard (texture of your choice)
  • Miniature Bases
  • Sand/Gravel (if desired)
  • Bits of cut up sprue
A cool way to add a unique feel to miniatures is to use textured pasticard (also known as sheet styrene in the US). Its available in most hobby train stores as well as well-stocked arts supply stores. You can check the manufacturers' websites (Evergreen and Plastruct are two of the larger manufacturers) for local vendors which carry their products.

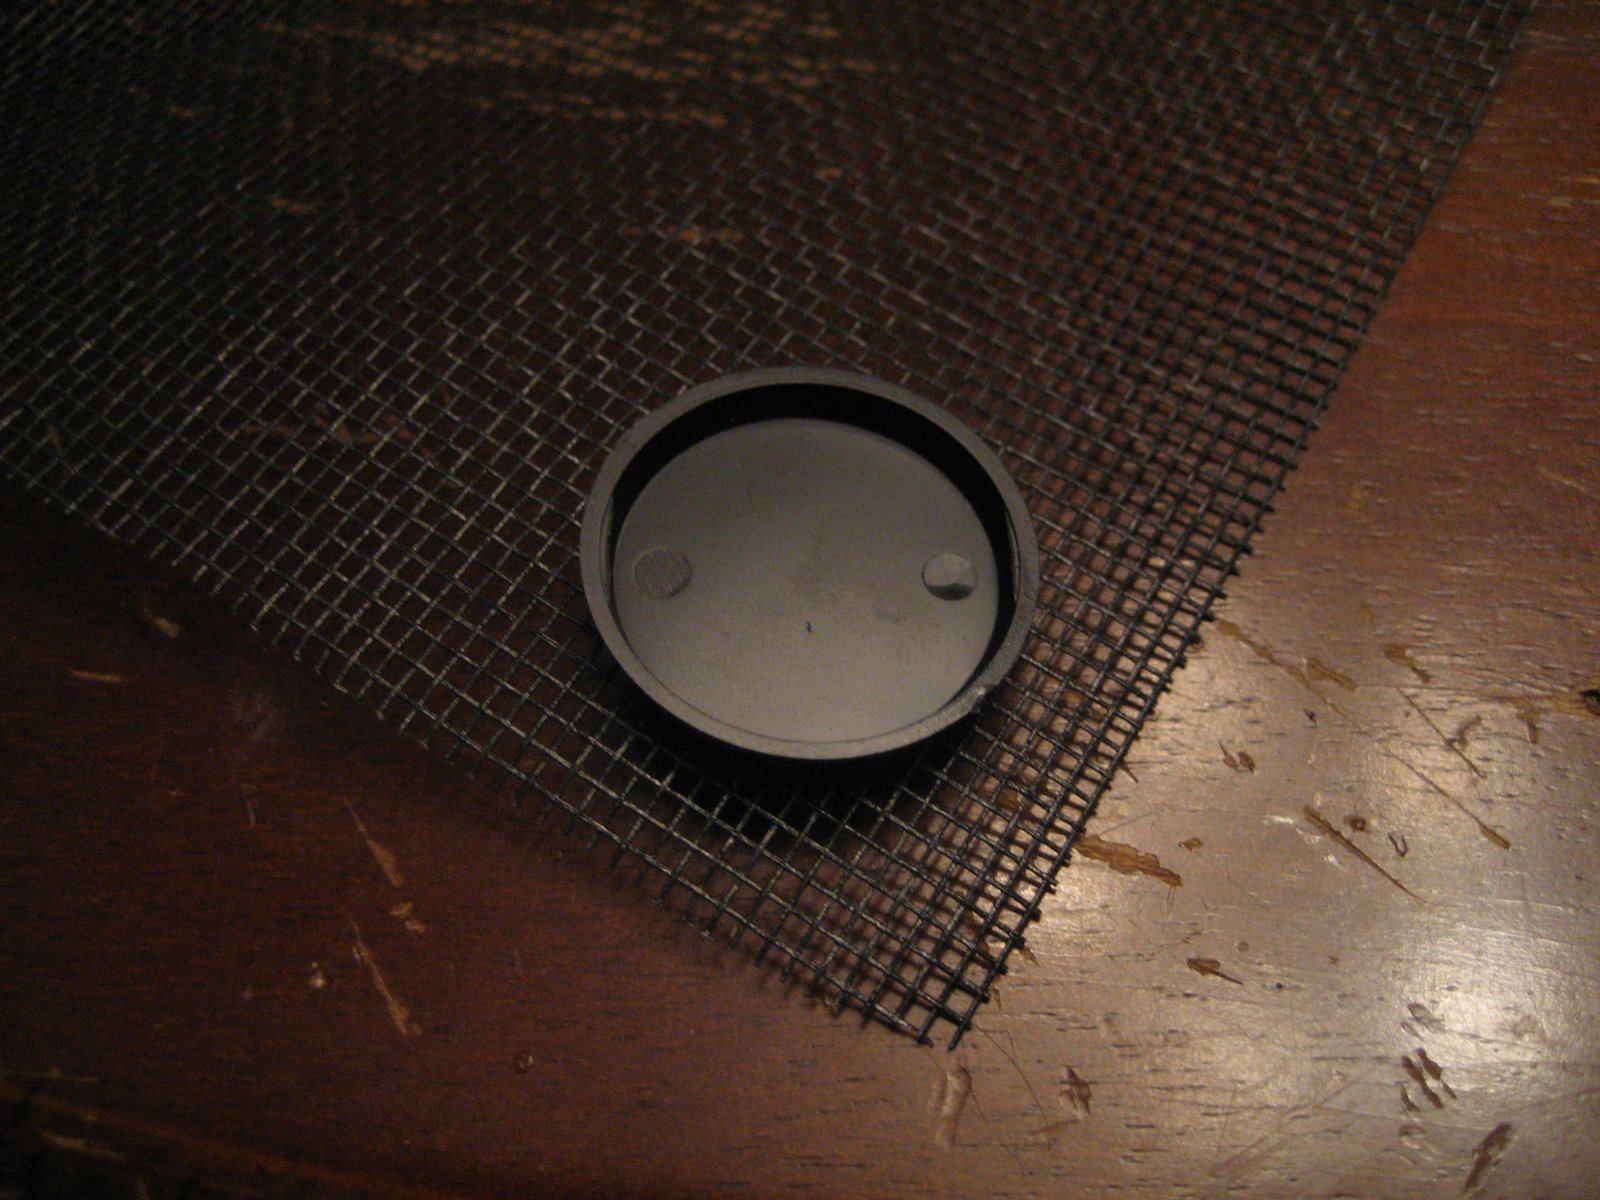
The textured stuff comes 2 sheets to a package, about 12in x 6in per sheet. It can be somewhat expensive (the pack of two costs about $7-8), thus it might be best for smaller armies/ miniature collections / show pieces. You can actually get a lot out of one sheet if you are careful with your cutting. The circles cut out of the sheet shown below cover the top of a 40mm round base.


Below is a close up of a sheet I am using for one of my projects, textured to appear like a surface of odd-shaped stones, perfect for cobblestone roads or the walls of a stone building.


The sheets are available in a variety of textures, including cobblestone, bricks, shingles, wood paneling, and metal grating. Options for any Sci-Fi or Fantasy theme.


Assembly
Above is a base for one of the pieces of my in-process Lord of the Rings chess set (more on that later). I applied plastic glue to to the top of the 40mm base, and glued it to the underside of the plasticard sheet. Once the glue had dried, I cut around the edge of the base with a hobby knife. This was alot simpler than trying to trace the shape onto the pasticard with pencil and follow the line with your hobby knife. This is particularly true as plasticard cuts in straight lines much easier than curves. If glued to the plasticard before cutting, the base acts as an excellent cutting guide.


The debris on the base is small chunks of plastic sprue (the frame-stuff plastic models come on) and larger grade sand. Before painting, I gave it a quick spray of textured spray paint. Its a completely optional step, but I like it, as it keeps any of the surfaces from appearing too smooth. Games Workshop sells Roughcoat, a textured spray paint, but I prefer major manufacturer textured spray paint from Home Depot or any other hardware style store. You tend to get more for your money, and can choose from an array of colors/textures. Just a warning, this stuff has rather significant fumes, enough so that Home Depot will actually check your ID when you buy it (I think you need to be 18). Just be sure to use it in a very well ventilated area.


Painting
Painting was a simple drybrush of a dark grey, working up through Codex Grey, Fortress Gray, and Skull White. I was a little sloppy with my drybrushing, and it got in the crevices, so I watered down some of the dark grey and painted it into the crevices with a fine brush. Took only a minute or so, but produced a very nice final effect.